DIY Framed Faux-Entomology!
Let’s make a Faux Entomology moth display using one of my transparency print packs!
You'll need the following supplies:
-Cotton Gloves
-Transparency set
-double sided tape
Step 1: Cut out the Prints
I like to wear cotton gloves while handling these transparency prints so that I don’t transfer any finger prints!
While cutting, it helps to keep the image to the left of your blade (I’m right handed) so that it is easier to see. I flip the transparency back and forth to make it easier!
The antenna are the toughest part. Make your final cuts away from the antenna and toward the wings so that you don’t accidentally cut them off!
Step 2: Prep the frame
Use your favorite glass cleaner to wipe off any dust or oil transfer!
Step 3: Arrange the moths
Try out a few different combinations until you find your favorite!
Once you’ve chosen a set-up, use a small piece of double-sided tape on the back of the print to hold it in place.
Step 4: Hang it up
Find the perfect place to hang your new display!
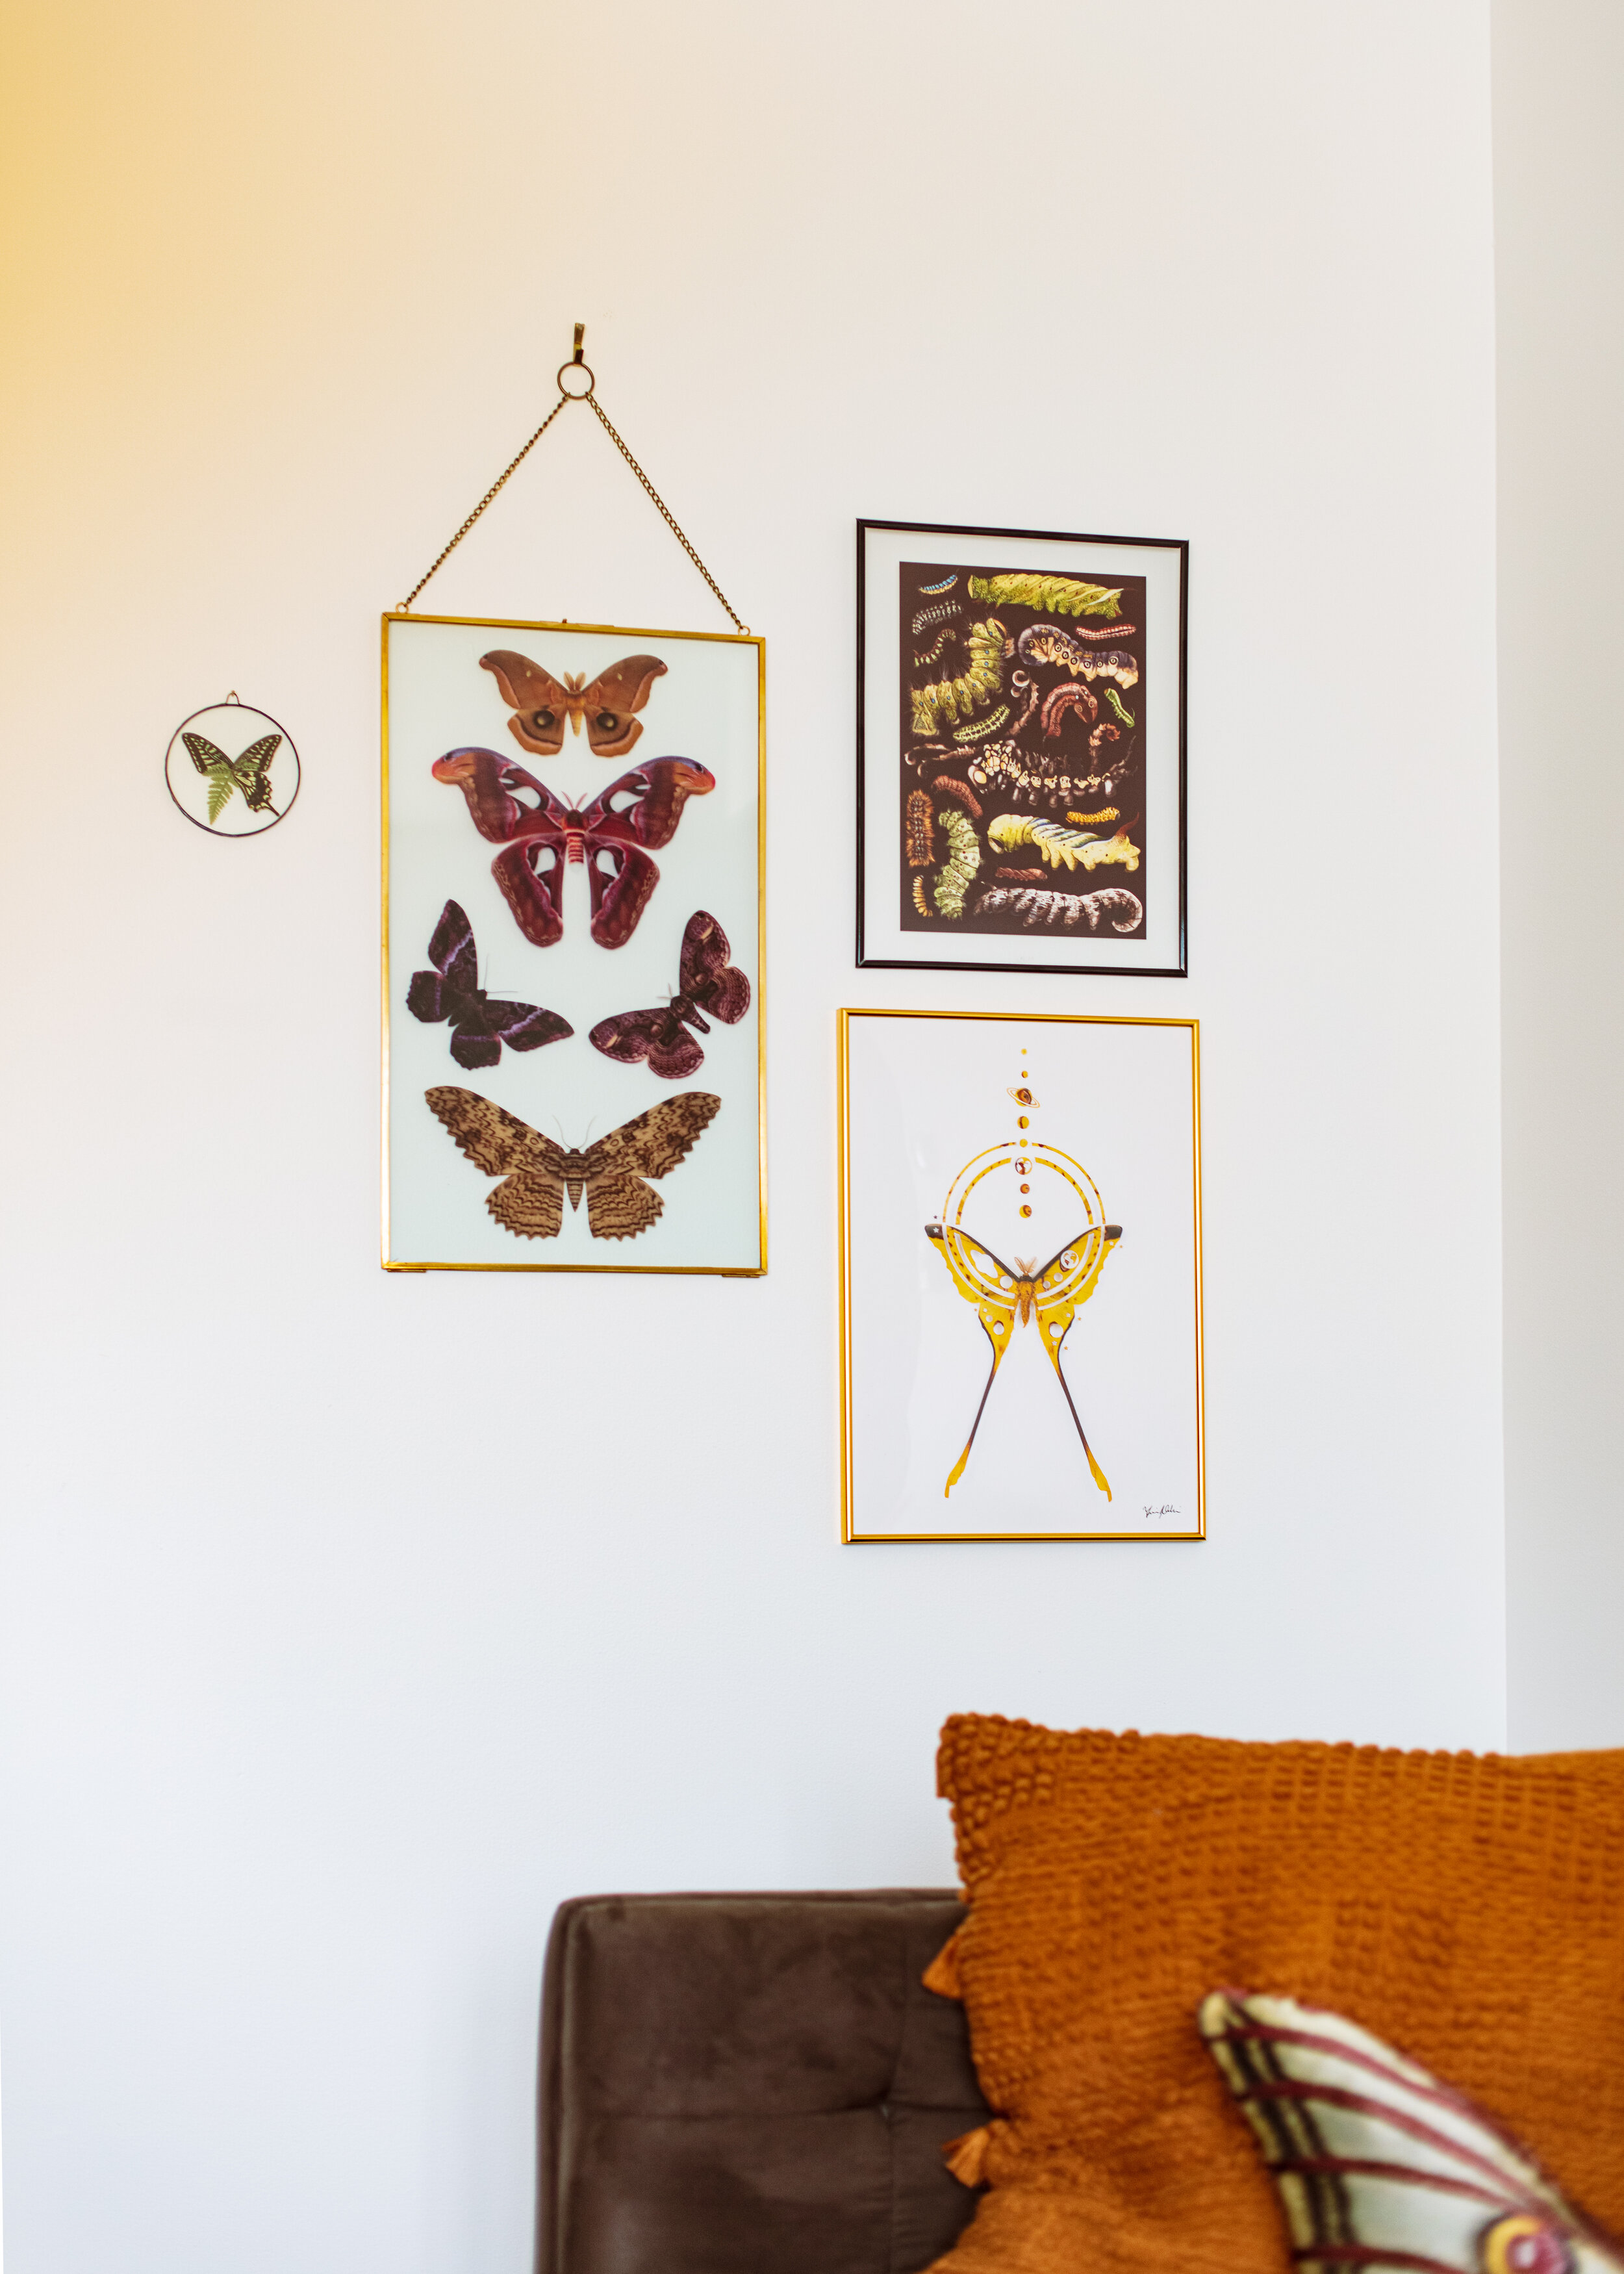
Since these prints don’t have any white in them, they look best displayed on a light wall!
The other artists displayed on this wall are: Cloven Foot round stain glass, Rita Gould caterpillar print, and Fiona Taxidermy comet moth print.
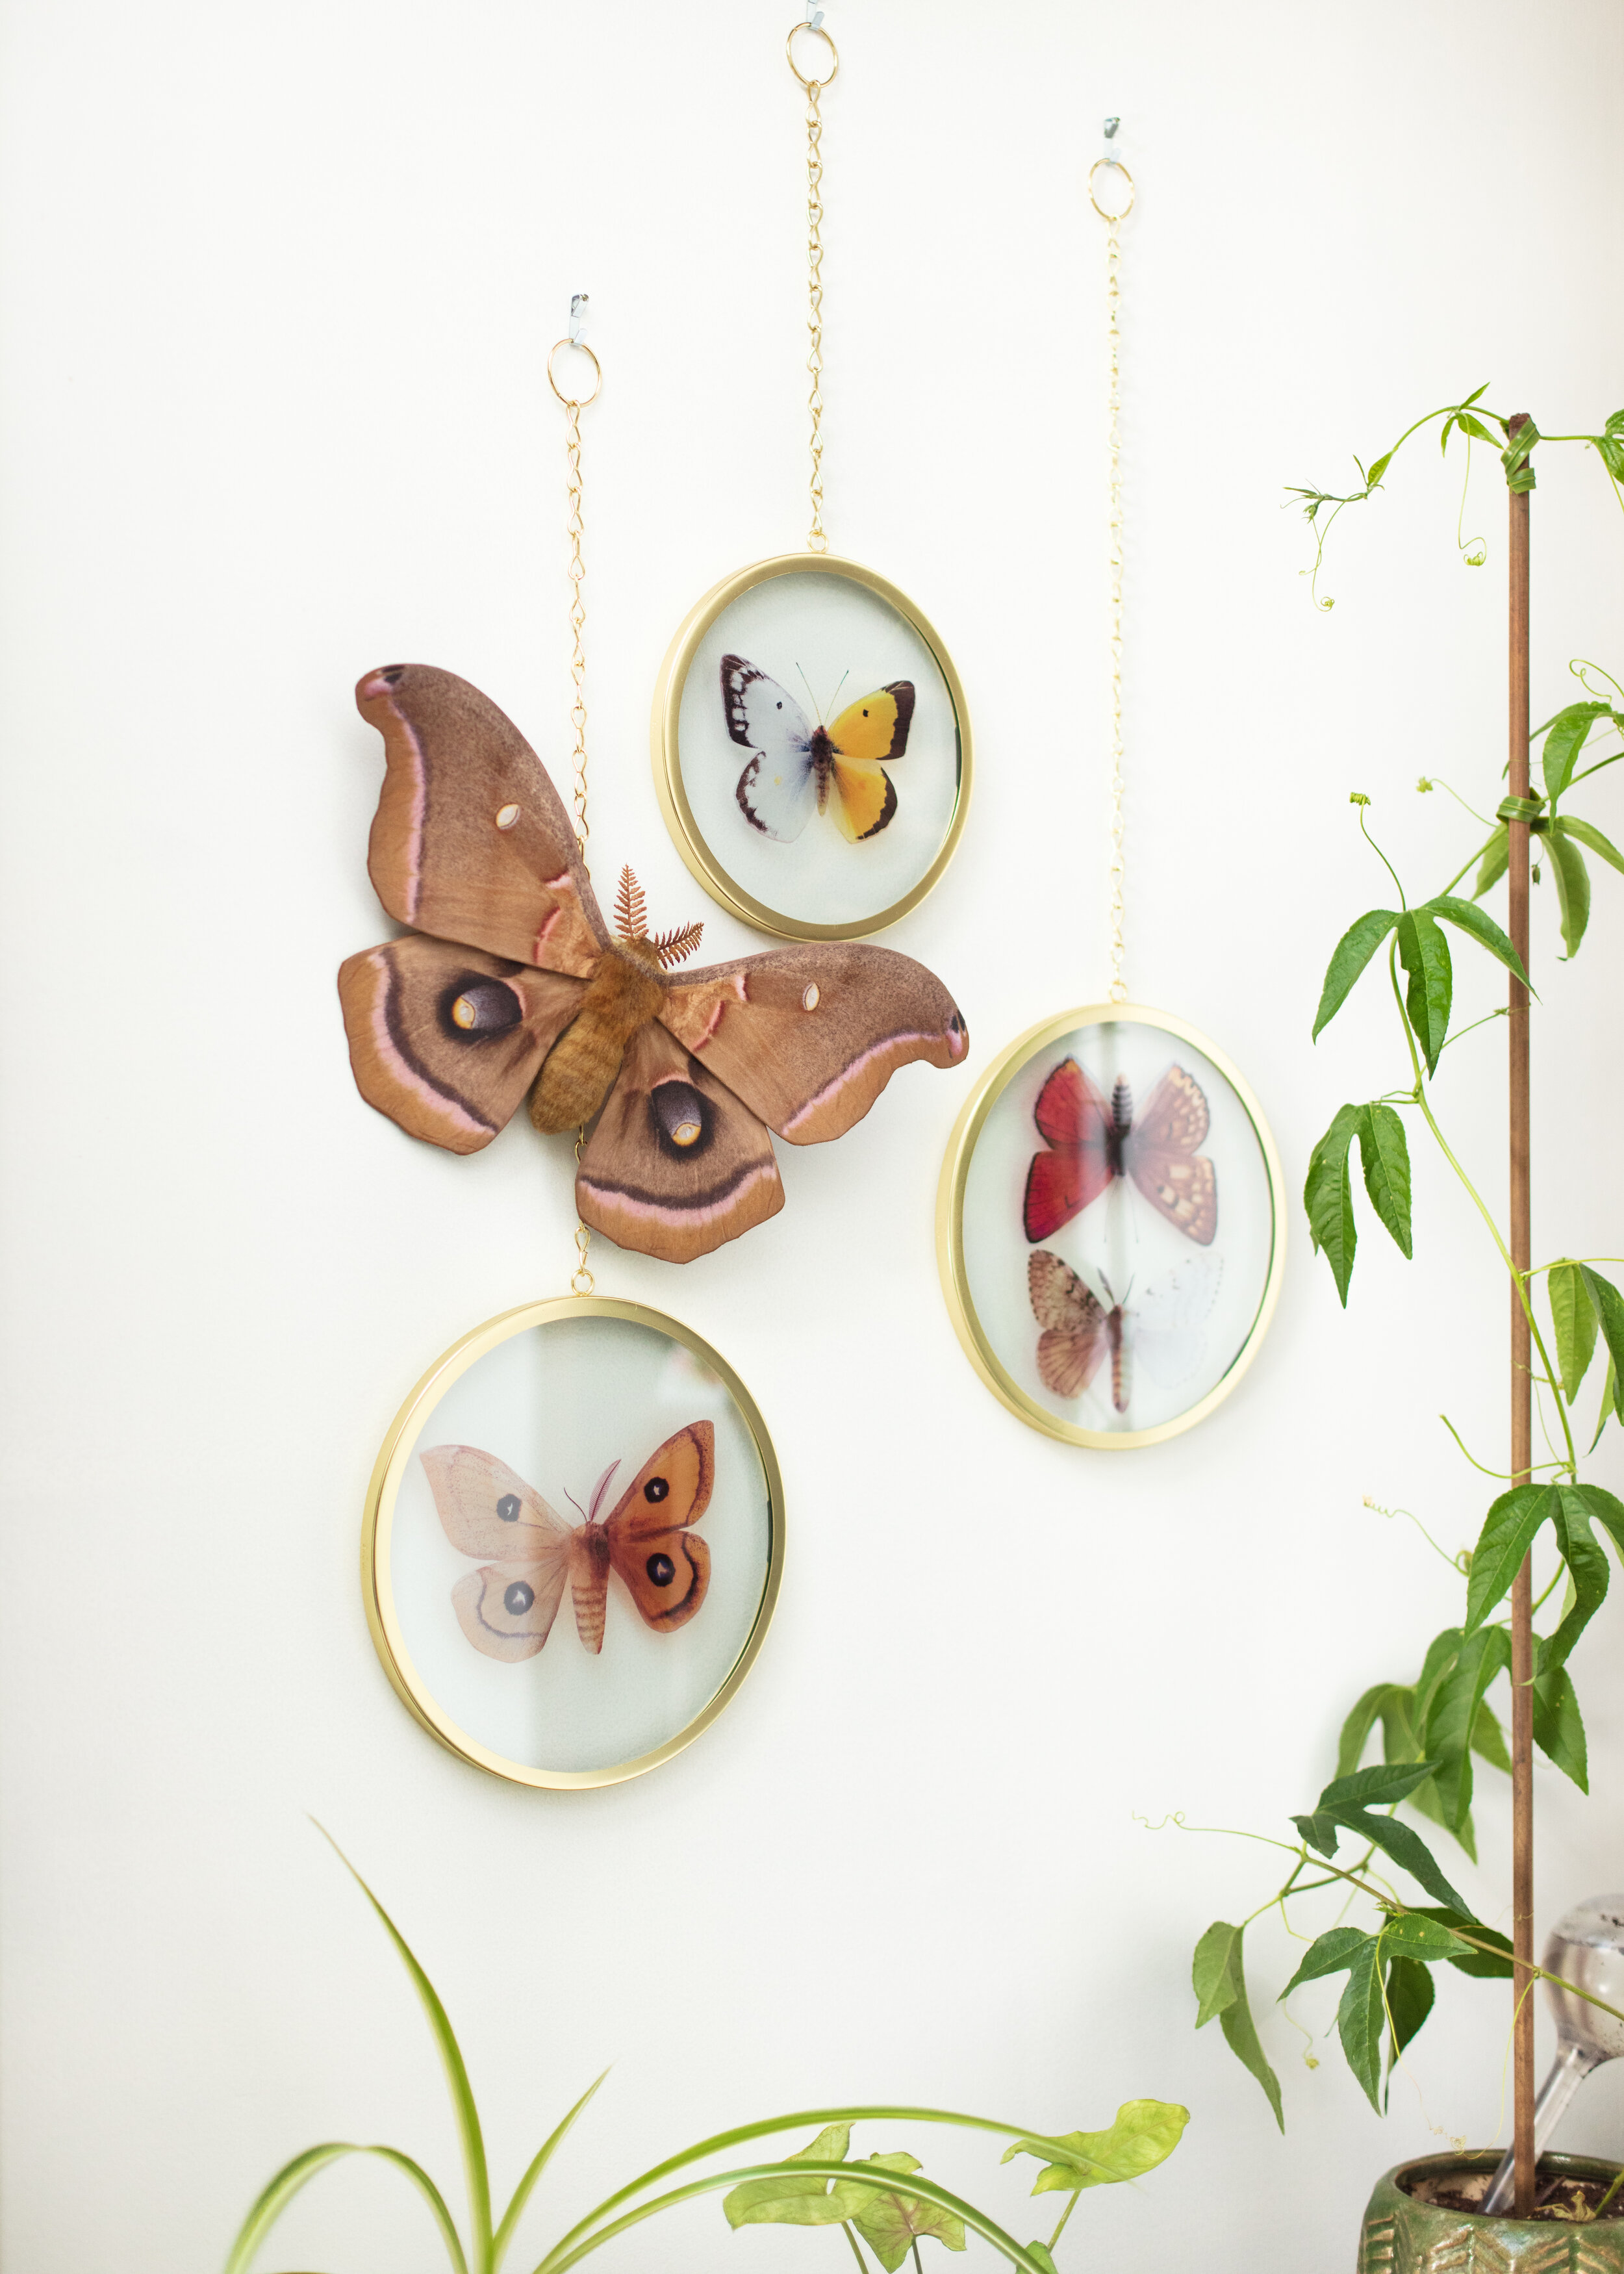
Other variations of frames and prints can be used too!
These circular frames turned out to be my FAVORITE! The quality is phenomenal and the design is very clever.


